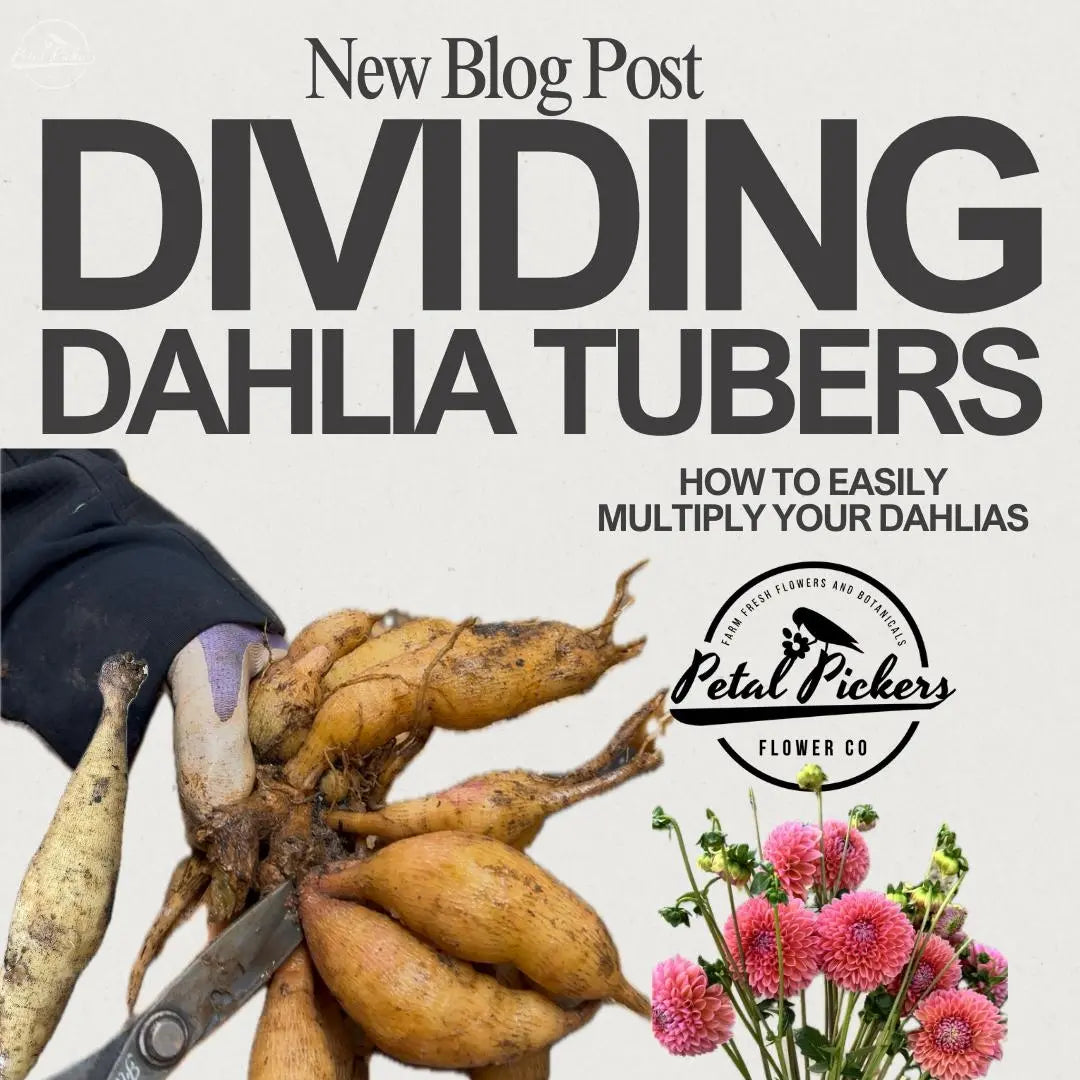
Our Step-by-Step Guide to Successfully Dividing Dahlia Tubers

There’s something magical about dahlias, isn’t there? Their multitude of colors and eye-popping blooms make them the standouts of any garden. But like all great things, they require a few extra steps to keep them thriving year after year. One of the best ways to ensure your dahlias keep performing their best is by dividing their tubers. It might sound intimidating, but with a bit of guidance, you’ll be able to divide with confidence.
How to divide dahlia tubers is one of the most common questions I receive. By now, I have divided over 100,000 tuber clumps on our farm, and it has become muscle memory as far as dividing dahlia tubers goes. Each year, I train our team to divide our tubers with these best practices and things to look for when dividing.
As someone who’s been dividing dahlia tubers for a decade, I can attest it’s a rewarding process. Plus, there’s nothing quite as satisfying as turning one plant into several. If you’re anything like me, you will feel like you hit the lottery when you learn to divide a productive dahlia tuber producing variety.
The First Thing to Consider - Do You Need To Divide Your Dahlia Clumps?
Our farm is located in the Southern United States. Our Plant Hardiness Zone is 8B. This means that our ground does not typically freeze enough to harm dahlia tubers planted beneath our soil. So we COULD leave them in the ground and not divide.
Check your own USDA Plant Hardiness Zone by searching for your state map.

Why Should You Divide Dahlia Tubers?
If you’re new to dahlias, you might be wondering why dividing tubers is necessary. The answer lies in plant health and performance. Over time, dahlia tubers multiply and form large clumps underground. While this is a sign of a thriving plant, it can lead to overcrowding, smaller blooms, and even disease.
By dividing the tubers, you:
- Encourage Bigger Blooms: Dividing allows the plant to focus its energy on fewer tubers, resulting in larger, healthier flowers.
- Multiply Your Garden: Each divided tuber with a viable “eye” can grow into a new plant, effectively doubling or tripling your stock.
- Prevent Disease: Removing damaged or rotting tubers reduces the risk of fungal infections spreading to healthy parts.
I learned this the hard way during my first year with dahlias. I didn’t divide my tubers, and by the next summer, my plants were crowded, underwhelming, and ridden with overwintered pest pressure. Now, dividing them has become a yearly tradition—and my blooms are spectacular!
When Is the Best Time to Divide Dahlia Tubers?
Timing is everything when it comes to dividing dahlias. Ideally, you’ll want to do this either in late fall after the first frost or in early spring before planting. Here’s why:
- Fall Division: After the first frost, dahlias go dormant, making it the perfect time to dig them up and divide them before winter storage. This is also the part of the year that we have more time on our hands to spend dividing our tuber clumps.
- Spring Division: If you prefer, you can wait until spring when the “eyes” are easier to spot. Just be sure to store your tubers properly over the winter.
Personally, I prefer dividing in the fall because it’s a natural part of my garden cleanup routine. It allows us to plant a cover crop in Winter, to help increase the organic matter in the soil where we grow our flowers. Plus, it’s satisfying to see my carefully labeled tubers ready for planting when spring rolls around. True Gardeners always have their hands in the dirt no matter what season it may be.
Tools You’ll Need
Before you start, gather your tools. Having the right equipment makes the process much smoother. Here’s what I use:
- A sharp set of garden shears
- A hose nozzle to wash the dirt off the tuber clumps
- Rubbing alcohol or a bleach solution to disinfect tools
- Labels and markers to keep track of varieties
- Storage material like wood shavings, peat moss, or vermiculite
Investing in ergonomic tools can also save your hands from strain, especially if you’re dividing a lot of tubers. Trust me, your hands will thank you!

How to Divide Dahlia Tubers: Step-by-Step
Now for the fun part! Follow these steps to ensure your tubers are divided safely and effectively.
Step 1: Dig Up the Tubers
Start by carefully digging around the base of the plant. Use a garden fork to loosen the soil, taking care not to damage the tubers. Gently lift the entire clump out of the ground.
Flower Farmer Tip: Work on a dry day when the soil isn’t too wet. This makes it easier to handle the tubers without them turning into a muddy mess. The soil will fall off easier by gently shaking the tuber clump.

Step 2: Clean the Tubers
Rinse the tubers under running water to remove excess soil. A soft brush can help dislodge stubborn dirt. Once clean, inspect the clump for any signs of rot or damage.
I like to spread my tubers out on a table and let them dry no more than 24 hours. This makes them easier to handle and helps you spot any trouble areas.

Step 3: Identify the Eyes
The “eyes” are small growth points where new shoots will emerge. They’re usually found near the crown, where the tuber connects to the stem. If you’re dividing in the fall, the eyes might be harder to spot, but a week or two of curing can make them more visible.
Flower Farmer Tip: If you’re unsure about spotting the eyes, store your tubers around 60 °F so that the eyes begin to sprout. You can return them to a cooler storage temperature after dividing (40-50°F) to prevent them from actually sprouting and starting to grow. Or you can wait to divide until Early Spring, when the eyes naturally become more pronounced.
Step 4: Cut with Care
Using a clean, sharp knife, divide the clump into individual tubers. Each piece should have at least one eye and a portion of the crown. Avoid cutting too close to the eye, as this can damage its ability to sprout.
Step 5: Disinfect and Cure
Dip your knife in rubbing alcohol or a bleach solution between cuts to prevent spreading disease. After dividing, allow the tubers to cure in a cool, dry place for up to 24 hours. This helps seal the cuts and reduces the risk of rot. We like to use these kids spill-proof cups to store our rubbing alcohol while dividing tubers. It makes disinfecting your clippers quick and convenient.
Step 6: Label and Store
Label each tuber with its variety to avoid confusion later. Store them in a breathable container filled with peat moss, sawdust, or vermiculite. Keep the container in a cool, dark spot where the temperature stays between 40-50°F. Use a garden marker that is resistant to UV Rays so that your labels don’t go blank over the course of a season. Simple plant labels are all that’s needed to keep your varieties in order.

Common Challenges and How to Overcome Them
Even seasoned gardeners run into a few hiccups when dividing dahlias. Here’s how to tackle common issues:
- Rotting Tubers: Ensure proper airflow during curing and storage. Avoid storing in damp or humid conditions.
- Tubers Without Eyes: If a tuber doesn’t have an eye, it won’t grow. Be patient—sometimes the eyes are hard to spot right away.
- Breaking Tubers: Hold the clump securely while cutting to minimize accidental damage.
I once stored my tubers in an uninsulated garage—big mistake! They froze, and I lost most of them. Now, I use a temperature-controlled flower cooler, and my tubers stay healthy all winter.
For more information about Storing Your Dahlia Tubers Over Winter read here.
What to Do With Your Divided Tubers
Now that you have a bounty of divided tubers, what’s next?
- Plant Them: Replant your tubers in your garden for an even bigger display next year.
- Share Them: Gift your extras to friends and family. It’s a thoughtful way to spread the joy of gardening.
- Sell Them: Consider selling your surplus tubers online or at local farmers’ markets. It’s a great way to fund your gardening hobby or business.

Final Thoughts
Dividing dahlia tubers is one of those tasks that’s as practical as it is satisfying. With a little effort, you can keep your garden healthy, multiply your plants, and even turn a profit. Remember, every tuber you divide is a little promise of the beauty to come.
So, roll up your sleeves and give it a try. And if you have any questions or stories to share, I’d love to hear from you in the comments. Happy dividing!


Comments
Peter Martin —
Great pop up workshop 🌱